*Lavazza is not affiliated with, endorsed or sponsored by Nespresso


Latte Art: What is it and how to do it (Guide for beginners)
Latte art is an essential part of the experience for coffee lovers. If you want to learn how to make it yourself, you’ve come to the right place!
In this guide, we’ll explain latte art for beginners. It’s not hard to do at home, as long as you have the right equipment.
What is latte art?
Latte art is the design created by milk foam you’ll often find on warm drinks from the café. To make the design appear, the milk must be steamed beforehand, creating smooth microfoam. The foam will separate from the coffee, staying afloat and showing on top of the drink.
What do you need for latte art?
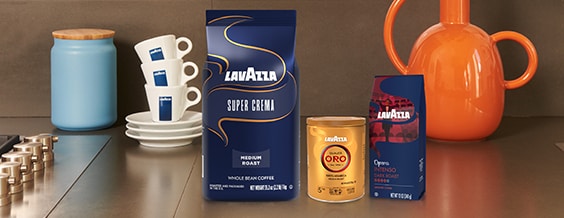
- Espresso or other drink bases like matcha or chocolate that are diluted with just a little bit of hot water. You don’t have to own a professional coffee machine to make coffee art for your drink; you can use a French press or other tools as long as the espresso is thick and not too diluted, like drip or pour over coffee. For the best experience, we recommend Super Crema — with notes of roasted hazelnut and brown sugar, or La Reserva de ¡Tierra! Alteco Espresso—a premium blend of high-grade Arabica-Robusta from uncontaminated mountain plantations in Africa and Central and South America.
- Your favorite type of milk. Regular milk works best for latte art, but non-dairy options like oat milk and soy milk can create good foam for a latte as well. It’s best to avoid using almond milk, as it’s harder to froth.
- Metal milk jug/pitcher of any size with sharp pour spout. Most beginners feel more comfortable using a smaller one or the size that fits best with their hand.
- Milk steamer or handheld frother.
- Any coffee mug.
How to do latte art
Before starting, prepare your drink base (espresso, matcha, or chocolate) in your chosen mug. Then, pour milk into the steamer or frother. Begin steaming, moving the pitcher or the frother up and down. When the steamer or frother tip is close to the surface, it’ll create thicker foam. Don’t let it surface too much, or you’ll get too many bubbles.
There are three types of foam: flat white, latte, and cappuccino foam. Flat white foam is the thinnest. To achieve flat white art, keep your steamer or frother deep in the milk. Lattes need a medium foam, so you have to froth near the surface, but not too high. Cappuccino art has the thickest foam, so froth near the surface longer.
For beginners, it’s best to practice with latte foam. Thinner foams often disappear, making it harder to form clear patterns. In comparison, thicker foams will pour slowly, and beginners often overfill the cup because the foam stays in the jug before coming out at once.
If it’s hard to spot the foam, keep an eye on the milk’s surface. Latte foams are smooth and contain little to no bubbles. If it looks like regular milk with transparent foam, it’s too thin. If the foam heaves and is bubbly, it’s too thick.
Once you’re done steaming or frothing, gently hold the jug slightly above the table and drop it several times until all bubbles pop. You can also swirl the pitcher to smooth it out. Hold the pitcher with your dominant hand and your mug tipping towards the pitcher with the other. You can hold the jug’s handle with three fingers and keep your index finger and thumb beside the spout to help stabilize the pour.
Pour from slightly high up with a circling motion to mix the milk into the base. At this point, don’t worry if you can’t see any pattern forming. When a third of the cup is filled, lower the jug to start pouring the foam.
The heart pattern is the best basic latte art to practice with, since the same basic form you use to make the heart is used for designs like swans and rosettes. You can slowly pour close to the edge of the cup and push forward (slowly) in a straight line.
If your pattern looks disfigured and you’d like to fix it, grab a toothpick, dip it in the foam and stretch the pattern.
Practice makes perfect:
There are many things to learn before you can perfectly create a coffee art painting, but practice is key. Doing manual latte art isn’t the only way to make art with coffee. You can also make coffee stencil art, which only requires you to put a stencil over the cup and sift powdered chocolate to make drawings above the foam.
Your first latte art is done! Don’t be discouraged if your pattern isn’t perfect. It’ll take several tries for you to get it right, so keep on practicing. Once you start getting the hang of it, you can try harder latte art designs and get creative!
